How To Use A Manual Heat Stamp in the UAE 2024 - A Beginner’s Guide
Introduction:
In the ever-evolving landscape of business and personalization, the use of manual heat stamps has become an increasingly popular method for adding a touch of uniqueness to various items. Whether you're in the UAE and looking to personalize your products or start a business, mastering the art of using a manual heat stamp can open up a world of creative possibilities. In this beginner's guide, we'll take you through the step-by-step process of using a manual heat stamp, providing insights and tips tailored to the UAE market in 2024.
Understanding the Basics:
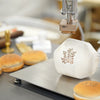
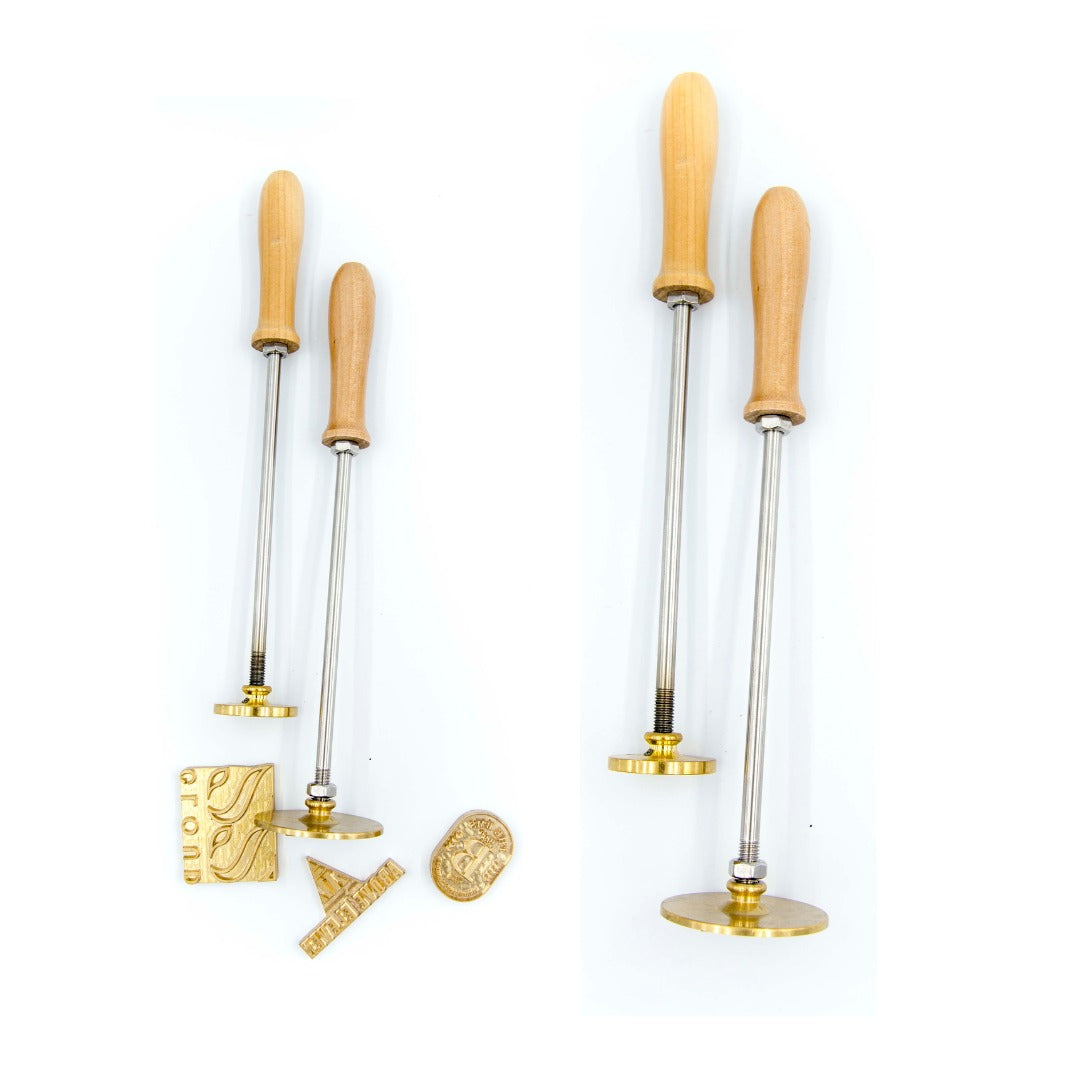
Before delving into the specifics of using a manual heat stamp, it's essential to understand the basic components of this versatile tool. A manual heat stamp typically consists of a handle, a heated Brass plate (the stamp). The stamp is engraved with the desired design or text, and when heated, it can transfer the design onto various surfaces, such as Burger, Bread, cheesecake, Fruits, coconut, leather, & Wood.
Step 1: Choosing the Right Stamp and Material
In the UAE's diverse market, the choice of stamp design and material is crucial for creating aesthetically pleasing and durable imprints. Consider the type of material you're working with – whether it's leather goods, wooden items, or food products. Additionally, ensure that the stamp design aligns with the cultural preferences and trends in the UAE.
Step 2: Testing on Scrap Material
To avoid any mishaps on your final product, it's advisable to test the heat stamp on a scrap piece of the material you intend to use. This test ensures that the temperature is correct and allows you to make any necessary adjustments before committing to the actual item.
Step 3: Applying Pressure
With the stamp in position, apply firm and even pressure to ensure that the design transfers uniformly onto the product. The duration of pressure application may vary, so it's essential to experiment on scrap material to find the optimal duration for your specific stamp and material combination.
Step 4: Peeling and Inspecting
After applying pressure, carefully peel the stamp away from the material. Take a moment to inspect the impression for clarity and consistency. If necessary, make adjustments to the pressure, temperature, or positioning before proceeding to the final product.
Step 5: Scaling Up and Batch Production
Once you've mastered the basics, you can scale up your production to personalize multiple items simultaneously. Batch production requires efficient workflow management, ensuring that each item receives the same attention to detail and quality.

