

Easy Guide for Using an Electric Iron Heat Stamp in 2024: Perfecting Your Imprints.
Introduction:
In the realm of crafting and personalization, the electric iron heat stamp has become an indispensable tool. Whether you're adding a custom touch to your Burger, Bread, cheesecake, Fruits, coconut, leather, & Wood, the electric iron heat stamp is a versatile companion. In this easy guide, we will walk you through the essential steps to ensure you make the most out of this fantastic tool in 2024.
Understanding Your Electric Iron Heat Stamp:
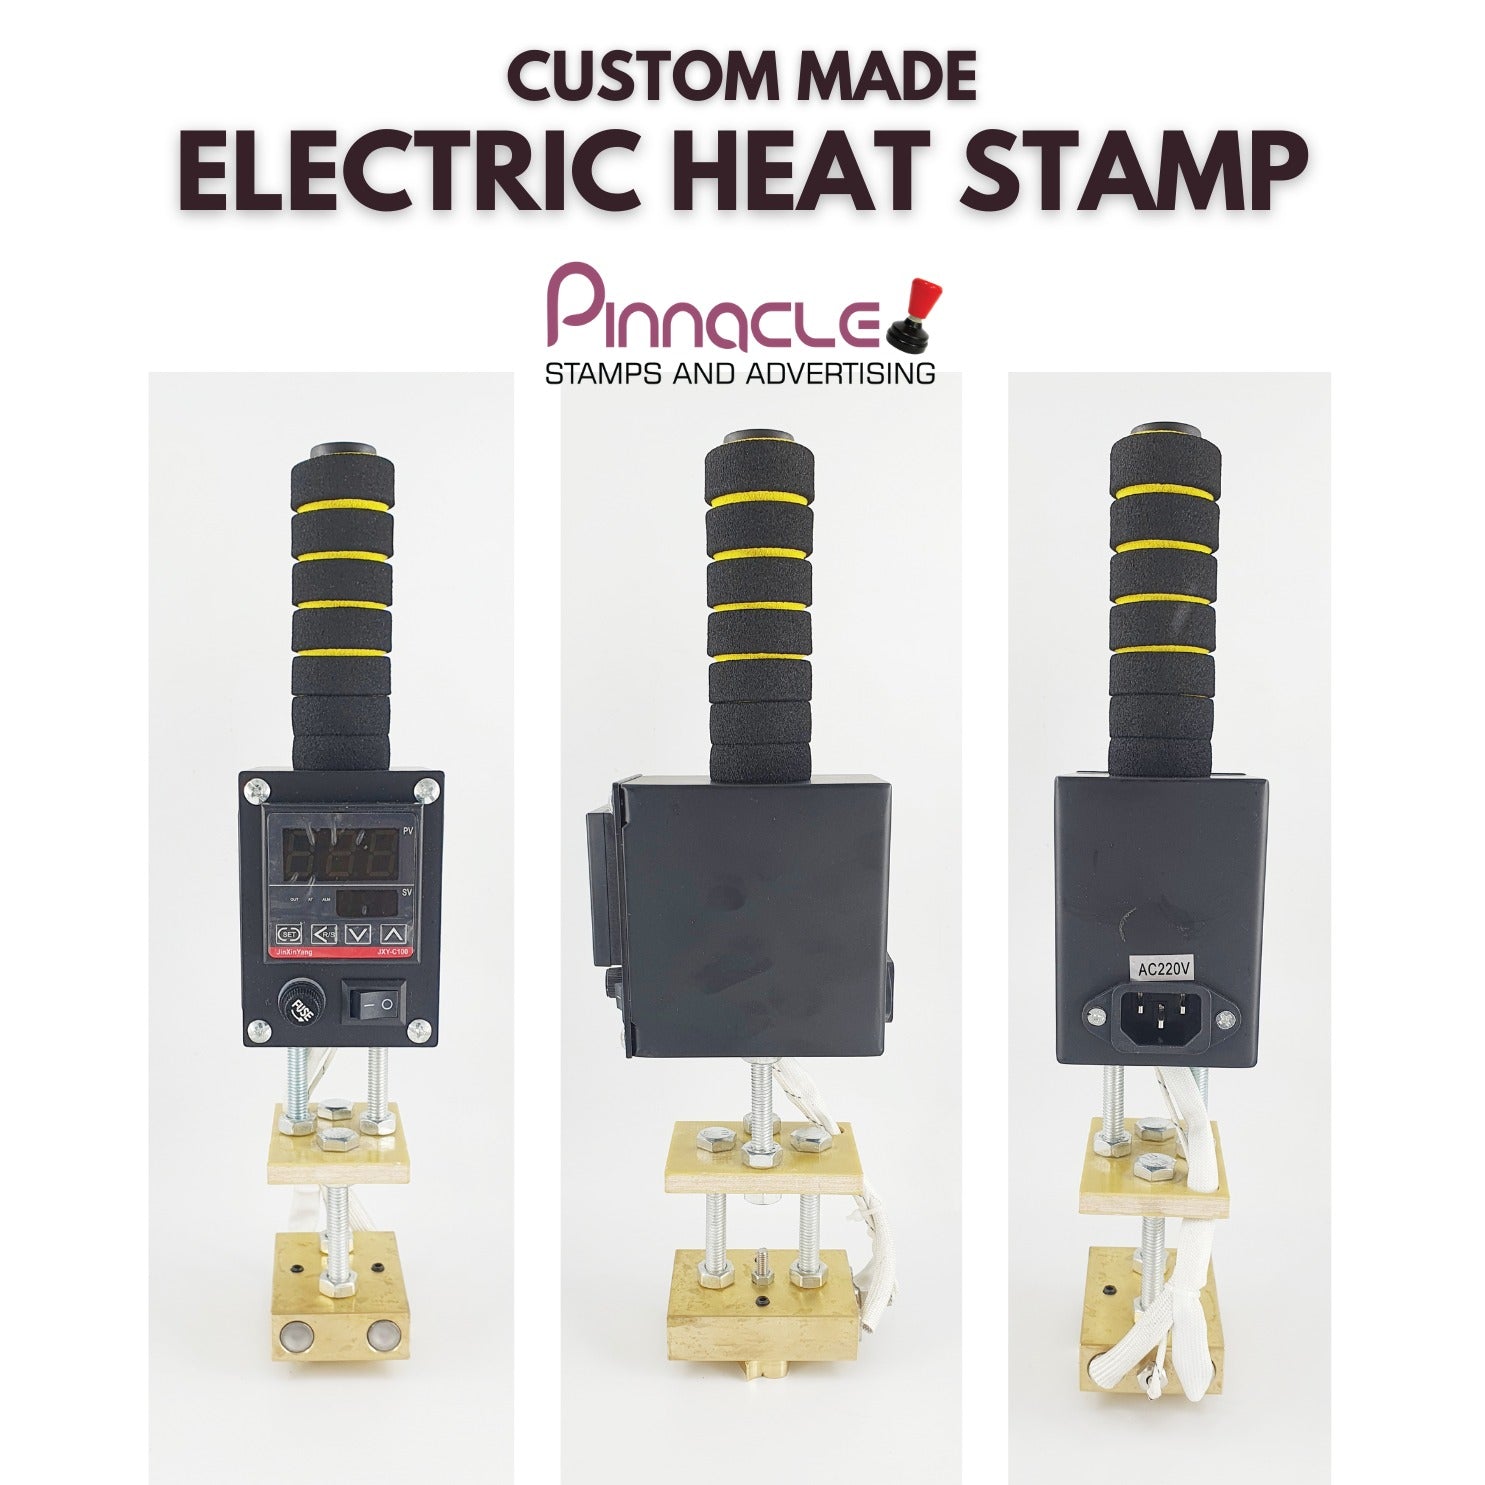
Before diving into the practicalities, it's crucial to understand the components of your electric iron heat stamp. Typically, it consists of the heating element, temperature control settings, a handle for easy maneuvering, and the stamping plate. Familiarizing yourself with these elements ensures a smoother stamping process.
Operating Instructions:
- Plug the heat stamp into a power outlet.
- Turn on the heat stamp and select the desired temperature.
- Wait for the heat stamp to reach the desired temperature. This will usually take about 3-5 minutes.
- Place the material to be stamped on a flat, heat-resistant surface.
- Press the heat stamp firmly onto the material for the recommended time. The recommended time will vary depending on the material.
- Lift the heat stamp carefully.
- Allow the stamped material to cool completely before handling.
Step 1: Selecting the Right Material:
Different materials require different temperatures and pressures for optimal stamping results. Whether it's Burger, Bread, cheesecake, Fruits, coconut, leather, & Wood, make sure you're aware of the specific requirements for your chosen material. Most electric iron heat stamps come with a temperature control feature – use it to set the right heat level.
Step 2: Preparing Your Work Surface:
Create a clean and flat workspace before starting your stamping project. Lay down a protective surface to prevent any damage to your worktable, and ensure you have enough space to move the iron around comfortably. This step helps in achieving precise and consistent imprints.
Step 3: Preheating the Electric Iron Heat Stamp:
Turn on your electric iron heat stamp and allow it to reach the desired temperature. This typically takes a few minutes. Patience is key – rushing this step may result in uneven imprints. Meanwhile, take this time to prepare your stamping area, ensuring everything is within arm's reach.
Step 4: Applying Pressure:
Once the iron is heated, it's time to apply the stamp. Place the stamping plate on the desired area of your material and press down firmly. The pressure applied should be consistent, ensuring an even imprint. Be cautious not to exert too much force, as it may damage the material or distort the image.
Step 5: Holding and Releasing:
Hold the iron in place for the recommended duration, usually a few seconds. The exact time depends on the material and the heat setting. Once the imprinting time is up, gently lift the iron, ensuring a smooth and even result. Take a moment to admire your work before moving on to the next section.
Step 7: Experimentation and Adjustment:
Not all materials are created equal, and sometimes, a bit of experimentation is necessary to achieve the desired result. Keep a scrap piece of your material handy for test imprints. Adjust the temperature and pressure settings as needed until you find the perfect combination for your specific project.
Maintenance Tips:
To ensure the longevity of your electric iron heat stamp, follow these maintenance tips:
Clean the stamping plate: After each use, wipe the stamping plate with a soft, damp cloth to remove any residue.
Store properly: Keep your electric iron heat stamp in a cool, dry place when not in use to prevent damage.
Check the cord: Regularly inspect the power cord for any signs of wear or damage. Replace it if needed to avoid safety hazards.
Follow the manufacturer's instructions: Adhere to the guidelines provided by the manufacturer for optimal performance and safety.
Operating Instructions:
- Be careful not to touch the hot metal parts of the heat stamp.
- Remember to switch off the heat stamp after use to prevent overheating and damage.
- Cool it down! Always turn off the stamp after use for safety and longevity.
- For prolonged tool life and safety, always power down the heat stamp once you're done. Keeping it on can overheat the coil and burn the metal holder.
Conclusion:
With the right knowledge and a bit of practice, using an electric iron heat stamp in 2024 becomes a rewarding and enjoyable experience. Whether you're a seasoned crafter or a beginner, this easy guide is designed to help you unleash your creativity and produce stunning, personalized imprints on various materials. Take your projects to the next level with the precision and efficiency of the electric iron heat stamp. Happy crafting!


